
Welcome to the Randall The Handyman guide. You want a mounted TV. You want it to look clean. We help with that. This guide explains how to get a professional home theater setup. We cover the tools and the steps. We also list the costs.
The Benefits of Mounting Your TV
Mounting a TV saves space. It keeps the room open. It keeps the TV safe from kids. It keeps the TV safe from pets. You get a better view. You choose the height. You choose the angle. It looks modern. It looks finished.
Choose the Right Mount
Pick a bracket first.
Fixed Mounts
These stay in one place. They sit close to the wall. They are the simplest option. They do not move. Choose this if you sit directly in front of the TV.
Tilt Mounts
These move up and down. They help with glare. They work well if the TV sits high. You can angle the screen toward your seat.
Full-Motion Mounts
These have an arm. They pull out from the wall. They turn left and right. They tilt too. These work for corner setups. They work for large rooms.
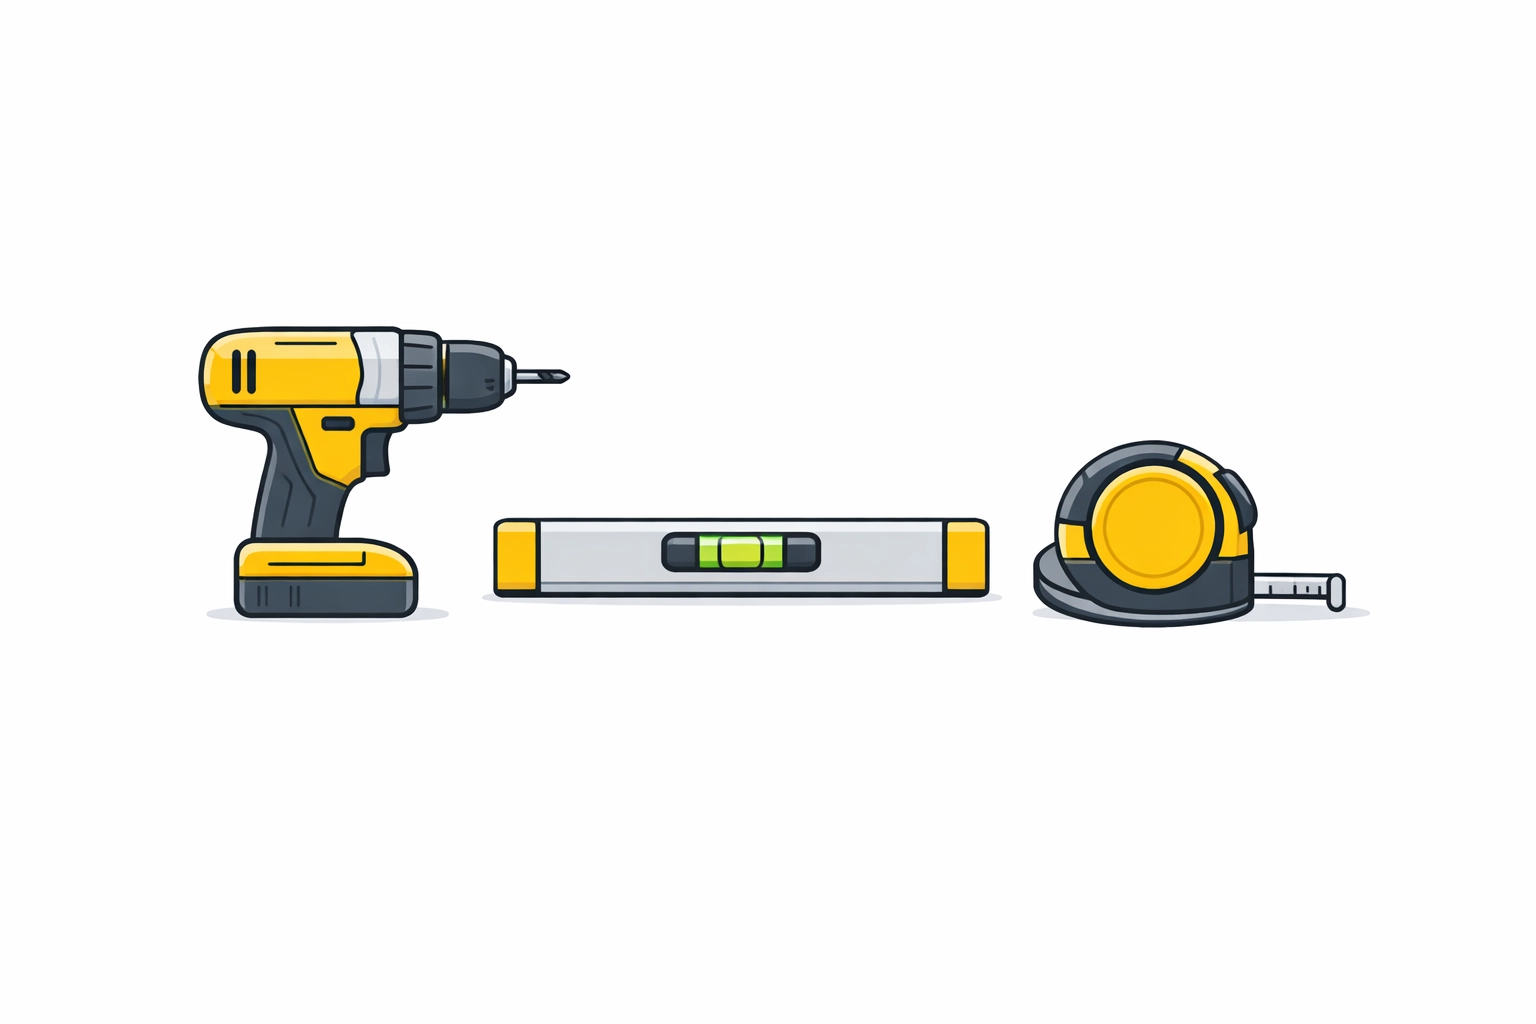
Gather Your Tools
You need the right gear. Gather these items now.
- A stud finder.
- A power drill.
- A set of drill bits.
- A level.
- A socket wrench.
- A tape measure.
- A pencil.
- A painter’s tape.
- A screwdriver.
Plan Your Placement
Do not rush the placement. Walk around the room. Sit in your favorite chair. Look at the wall.
Find the Height
Most people mount TVs too high. Do not do this. Aim for eye level. Sit down. Measure the height of your eyes from the floor. Mark that height on the wall. This is the center of your screen.
Check the View
Avoid windows. Sunlight causes glare. Check the light at different times of day. Use painter's tape to mark the TV size on the wall. Stand back. See if it feels right.
Find the Studs
Drywall alone cannot hold a TV. You must find the wood or metal studs.
- Turn on the stud finder.
- Slide it across the wall.
- Mark the edges of the stud.
- Mark the center of the stud.
- Repeat for the second stud.
- Verify the distance between them.
Most studs are 16 inches apart. Some are 24 inches apart.
Drill the Pilot Holes
Use the wall plate as a template.
- Hold the plate against the wall.
- Align the holes with your stud marks.
- Put a level on the plate.
- Adjust until the bubble stays in the center.
- Mark the hole locations with your pencil.
- Set the plate down.
- Select a drill bit smaller than the lag bolts.
- Drill into the center of the studs.
- Keep the drill straight.
Attach the Wall Plate
Now secure the mount.
- Hold the wall plate back up.
- Align it with the pilot holes.
- Insert the lag bolts by hand.
- Use the socket wrench to tighten them.
- Check the level again.
- Tighten the bolts until the plate is firm.
- Do not over-tighten. You might strip the wood.
Prepare the TV
Lay the TV face down. Put it on a soft blanket. Protect the screen.
- Find the mounting holes on the back.
- Remove any plastic inserts.
- Align the TV brackets with the holes.
- Use the screws provided with the mount.
- Add spacers if the back of the TV is curved.
- Tighten the screws with a screwdriver.
- Check that the brackets are secure.
The Clean Install: Cable Management
Wires look bad. Hide them for a clean look.
Use the Wall
You can hide wires inside the wall. This works for drywall. You need a cable routing kit.
- Mark two spots.
- Mark one behind the TV.
- Mark one near the power outlet.
- Cut holes in the drywall.
- Use a drywall saw.
- Install the plastic grommets.
- Feed the power and HDMI cables through.
- Pull them out at the bottom.
- Connect them to your devices.
Use a Raceway
If you have concrete walls, use a raceway.
- Measure the distance from the TV to the outlet.
- Cut the plastic track.
- Peel the adhesive backing.
- Stick the track to the wall.
- Place the wires inside.
- Snap the cover on.
- Paint the track to match your wall.
Hang the TV
Get help for this step. Do not do it alone.
- Lift the TV with another person.
- Hold the sides of the frame.
- Lift it toward the wall plate.
- Hook the TV brackets onto the wall plate.
- Let go slowly.
- Ensure the TV is locked in place.
- Use the safety screws to secure it.
Wall Types in Vancouver
Vancouver homes have different walls.
Drywall and Wood Studs
Common in houses in Kerrisdale and East Vancouver. These are easy to work with. Use standard wood screws.
Concrete Walls
Common in Yaletown condos and West End apartments. You need a hammer drill. You need masonry bits. You need concrete anchors. Do not use wood screws here.
Metal Studs
Found in many newer Burnaby and Richmond towers. Use toggle bolts. Do not use standard screws. Metal studs are thin. They need anchors that grip the back of the stud.
Local Regulations and Strata
Living in a Vancouver condo means following rules. Check your strata bylaws. Some buildings limit wall modifications. Ask your landlord if you rent in the Westside or South Vancouver. Get permission in writing. It prevents problems later.
Professional TV Mounting Services Vancouver
Sometimes the job is hard. Large TVs are heavy. Concrete walls are tough. We offer professional TV Mounting Services in Vancouver. We bring the tools. We bring the experience.
Our Pricing
We keep things simple.
- First hour: $120.
- Each additional hour: $85.
This covers the labor for the install. We can mount any size. We handle all wall types.
Areas We Serve
We travel across the city.
- Kerrisdale
- West End
- Yaletown
- East Vancouver
- UBC
- Westside
- South Vancouver
- Burnaby
- Richmond
- North Vancouver
- West Vancouver
- Main St
- South Main St
Troubleshooting Common Issues
The TV is Crooked
Most mounts allow for small adjustments. Loosen the safety screws. Tilt the TV until it is level. Tighten the screws back. Use your level tool to be sure.
The Stud Finder is Beeping
It might be detecting wires. It might be detecting pipes. Move the finder up and down. If the signal stays in one vertical line, it is likely a stud. If the signal is horizontal, it might be a pipe. Be careful.
The Screws are Loose
You missed the stud. Or you used the wrong anchor. Stop immediately. Remove the TV. Find the stud again. Use a new hole. A loose TV will fall.
Peripheral Setup
Connect your other gear.
Soundbars
Mount the soundbar below the TV. Use a specific soundbar bracket. It attaches to the TV mount. It keeps the setup clean.
Gaming Consoles
Place consoles on a shelf. Or use a wall mount for the console. Hide the HDMI cable in the wall with the TV cables.
Streaming Devices
Tape small devices to the back of the TV. Use hook-and-loop strips. This keeps them out of sight. The remote will still work.
Final Checklist
- Is the TV level?
- Are the safety screws tight?
- Are the cables hidden?
- Does the TV power on?
- Do the HDMI ports work?
- Is the wall firm?
Contact Randall The Handyman
Ready for a clean install? Skip the stress. Let us handle the drilling. We work in Yaletown, Burnaby, and Richmond every day. We know the walls. We know the mounts.
Call us for your home theater setup. We provide professional TV Mounting Services in Vancouver.
Reach out to schedule your visit. Get your weekend back. Enjoy your new view.
