
Repairing drywall seems simple. You buy mud, then you buy tape, then you fill the hole. Vancouver homeowners in Kerrisdale or the West End often try this on weekends. You realize quickly that it looks worse than when you started. A bad patch stays visible forever. You see the hump every time the sun hits the wall. You see the cracks return after a month.
These mistakes happen to everyone. You can fix them. You can avoid them next time. Randall The Handyman helps neighbors in Richmond and North Vancouver with these exact issues. If you want to do it yourself, follow these steps. If you want it done right the first time, call us.
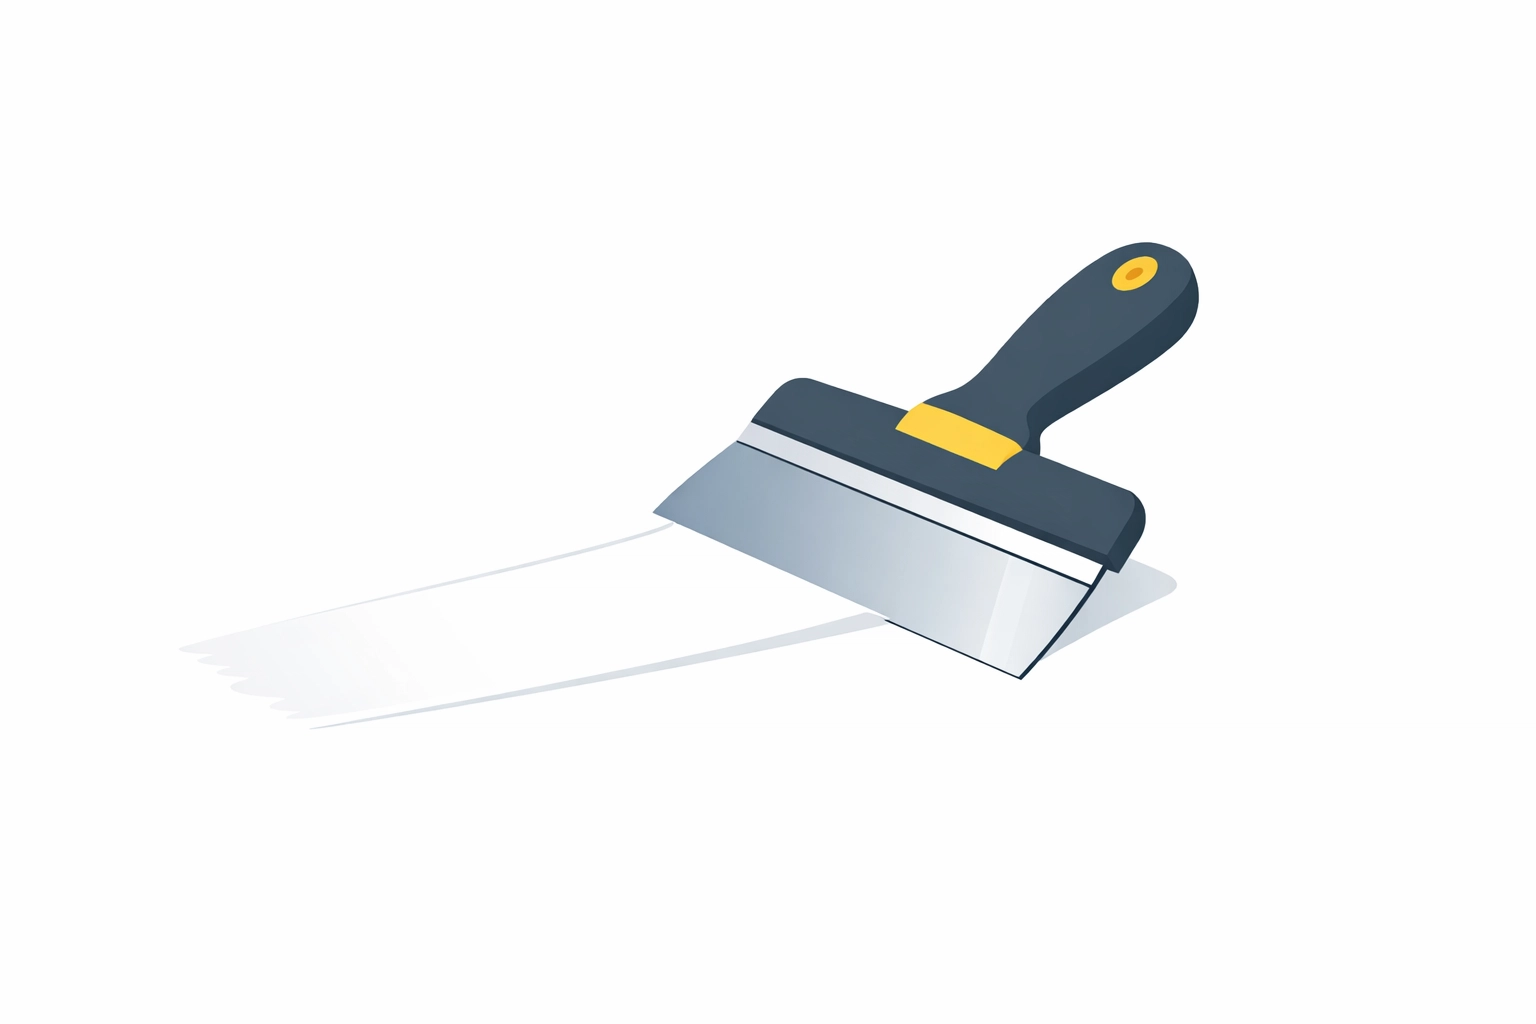
1. Using Too Much Joint Compound
You want the hole gone fast. You put a big glob of mud on the knife, then you mash it into the wall. This is a mistake. Too much mud creates a mountain. You spend hours sanding it later. The dust goes everywhere in your Yaletown condo. It fills your lungs and your furniture.
How to fix it:
Start with small amounts. Apply a thin layer, then scrape the excess off immediately. Your knife should click against the wall. Let it dry completely. Apply a second thin layer, then a third. Thin layers dry faster. They stay flatter. They require less sanding. Use a 6-inch knife for the first coat, then move to a 10-inch knife for the finish.
2. Over-sanding the Surface
You finish the mudding. You start sanding with heavy pressure. You want it smooth. You sand too far, then you hit the paper tape. You see the "fuzz" of the drywall paper. This ruins the texture. The paint will not hide the fuzz. It will highlight it. This is a common issue in UBC student rentals where repairs happen fast.
How to fix it:
Use a fine-grit sanding sponge. Choose 120-grit for the first pass, then 220-grit for the finish. Use a bright light. Hold the light against the wall at an angle. This shows every high spot. Sand only the high spots. Use circular motions, then stop. If you see tape, stop immediately. Apply a very thin "skim coat" of mud over the area, then wait. Sand again gently.
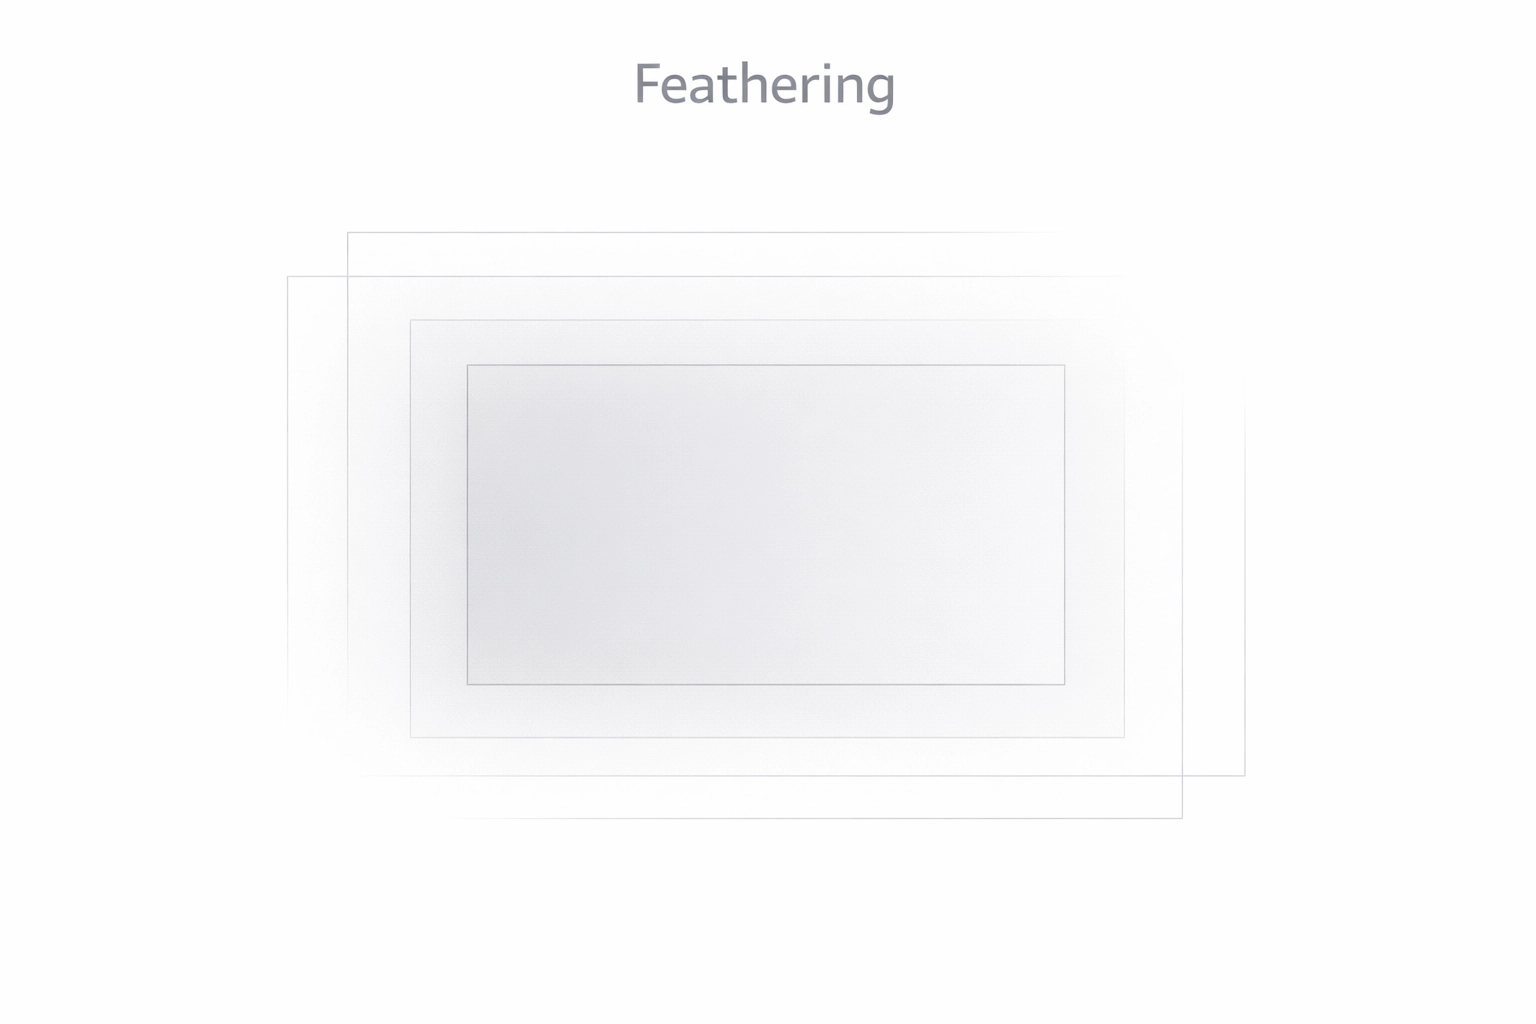
3. Poor Feathering of Edges
A patch should disappear. Many DIY repairs in East Vancouver look like a rectangular bump. This happens because the edges are too sharp. You did not feather the mud. The transition from the patch to the wall is too sudden.
How to fix it:
Learn to feather. Put pressure on the outer edge of your drywall knife. Keep the inner edge light. Pull the knife in long strokes. Move the mud further out from the hole with each coat. Your final coat should extend 6 inches past the original damage. This creates a slope so gradual that the eye cannot see it. Sand the very edges until they blend into the existing paint.
4. Ignoring Tape Bubbles
You apply the tape, then you cover it with mud. An hour later, you see a bubble. The tape is lifting away from the wall. This happens because there was not enough mud under the tape. The tape has nothing to grip. This is a structural failure. It will eventually crack and peel.
How to fix it:
Fix bubbles while the mud is wet. Press the tape down with your knife, then squeeze out the air. If the mud is dry, use a utility knife. Cut the bubble out carefully. Do not pull the tape. Fill the small hole with mud, then apply a new piece of tape over the gap. Cover with a thin layer of compound, then let it dry.
5. Mixing Mud Bubbles into the Wall
You open a new bucket of joint compound. You dig in and start working. You see tiny pinholes in your patch. These are mud bubbles. They happen because air is trapped in the compound. If you leave them, the paint will not fill them. Your wall will look like it has pores.
How to fix it:
Stir your mud before you start. Use a clean stick or a drill mixer. Add a tiny amount of water, then stir slowly. This releases the air. When you apply the mud to the wall, use firm pressure. This forces the air out. If pinholes appear after drying, apply a "tight" skim coat. This means you apply mud, then scrape almost all of it off. The mud stays in the holes but leaves the surface flat.
6. Cracking Due to Dryness and Humidity
Vancouver is damp. Richmond is humid. North Vancouver gets a lot of rain. If you apply a thick layer of mud, the outside dries but the inside stays wet. As it dries, it shrinks. This creates cracks. If you paint over these cracks, they will show through the finish.
How to fix it:
Check the temperature and humidity. Use a fan to move air across the wall. Do not point the fan directly at the patch. This causes uneven drying. Apply thin coats. Wait the full recommended time. If you see a crack, do not just paint it. Scrape the crack open slightly with your knife. Fill it with a fresh, thin layer of mud, then sand smooth.
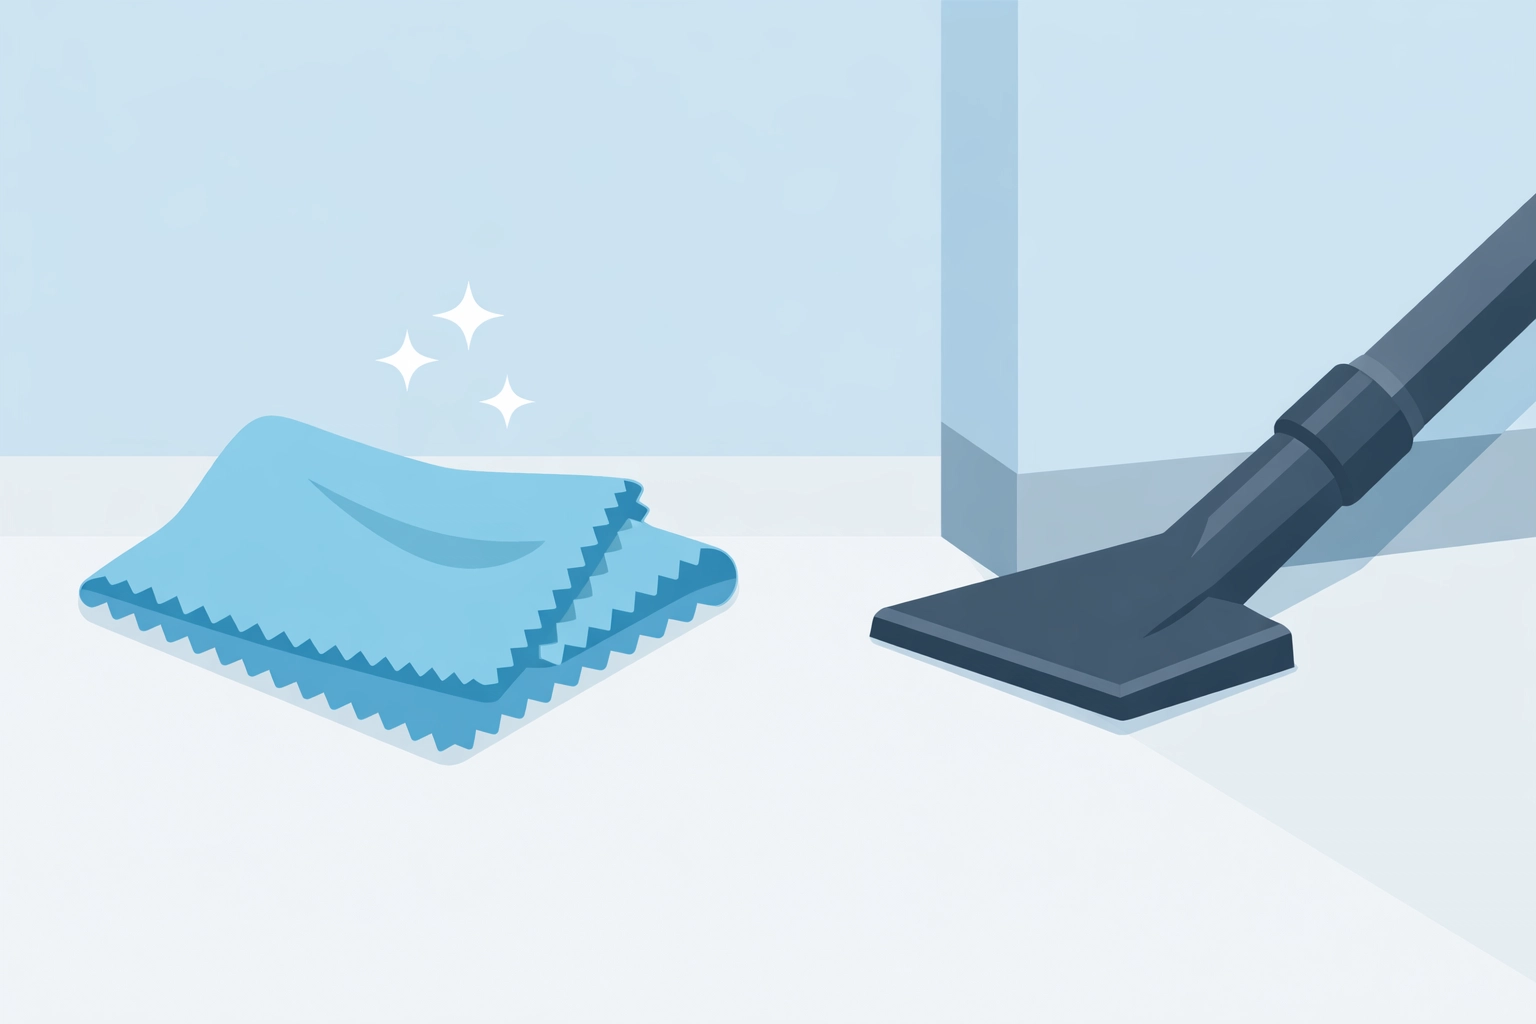
7. Taping Over Dust
You sand the wall, then you apply the next coat. You did not wipe the wall. The dust acts like a barrier. The new mud sticks to the dust, not the wall. Eventually, the entire patch will fall off. This is a common mistake in South Vancouver renovations where many things happen at once.
How to fix it:
Clean everything. Use a vacuum with a brush attachment. Wipe the area with a damp microfiber cloth. Let the wall dry for five minutes. Ensure the surface is tacky, not dusty. Clean your tools between every coat. A dirty knife leaves streaks in the mud.
Professional Help in Vancouver
Drywall is an art. It takes practice to master the "feel" of the knife. If your project in Burnaby or the Westside is too big, ask for help. Randall The Handyman provides professional drywall repair and finishing. We serve all areas including Main St and South Main St.
Our Pricing:
- $120 for the first hour.
- $85 for each additional hour.
We bring the right tools. We use the right mud. We keep the dust contained. Your walls will look like new.

Next Steps for Your Home
Check your walls for holes or cracks today. Buy a small container of lightweight spackle for tiny nail holes. Buy a bag of setting-type compound for larger repairs. Start small. Practice on a piece of scrap drywall first.
Visit https://randallthehandyman.com to see our work. Book a service call for your home repairs. Schedule a consultation for your next renovation project. Keep your Vancouver home in top shape. Move forward with your home improvements now.
