
Welcome. Your home needs maintenance. Small problems grow into large headaches. You notice a loose toilet seat every morning. You see a sagging cabinet door every time you cook. These tiny issues drain your energy. Fixing them restores your peace. You do not need a full renovation to feel better about your space. You need a handyman to handle the list.
Fix Your Bathroom Experience
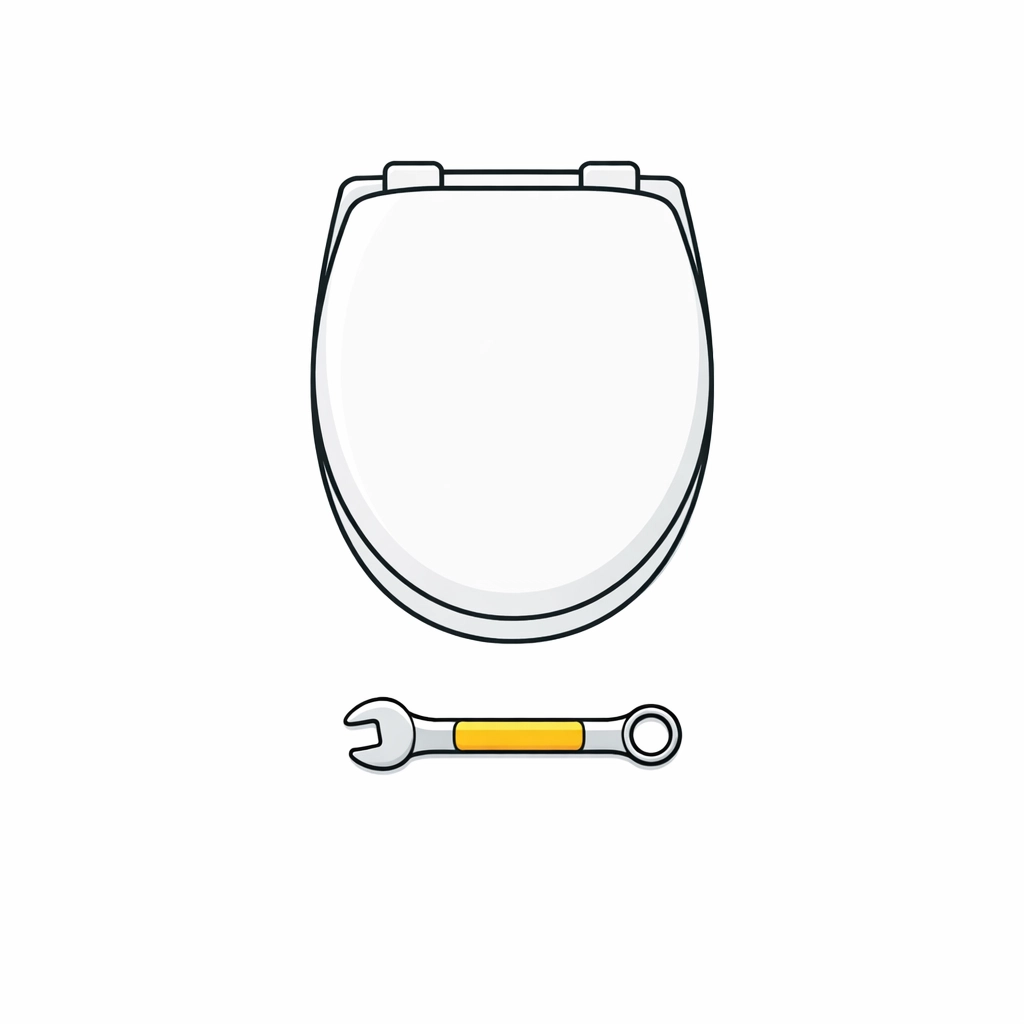
A loose toilet seat is a nuisance. It slides when you sit. It makes noise. It feels unsafe. Replacement is the best solution.
Start by choosing your hardware. Visit Splashes Bath & Kitchen Showroom on East 1st Ave in East Vancouver. Look at their options. Select a soft-close model. This prevents slamming. Pick a material that cleans easily.

The Replacement Process
Measure your toilet bowl first. Determine if it is round or elongated. Buy the matching seat. Then gather your tools. You need a screwdriver and a wrench. Open the plastic caps on the back of the seat. Unscrew the bolts. Some bolts are plastic. Others are metal. Metal bolts in East Vancouver homes often rust. Apply penetrating oil if they stick. Wait ten minutes. Then turn the wrench. Remove the old seat.
Clean the porcelain surface. Use a disinfectant. Reach the areas normally hidden by the hinges. This is the only time you can access these spots easily. Scrub away the grime. Dry the area completely.
Position the new seat. Align the hinges with the holes in the bowl. Insert the new bolts. Thread the nuts onto the bottom. Hand-tighten them first. Center the seat on the bowl. Use the wrench to finish the job. Do not overtighten. Plastic threads strip easily. Close the decorative caps. Test the lid. Your bathroom feels improved immediately.
Repair Your Kitchen Cabinets
Cabinet hinges take a lot of abuse. You open and close them thousands of times. Screws loosen over months. Metal fatigues and snaps. A sagging door ruins the lines of your kitchen. It scrapes the frame. It leaves marks.
Adjusting the Hinges
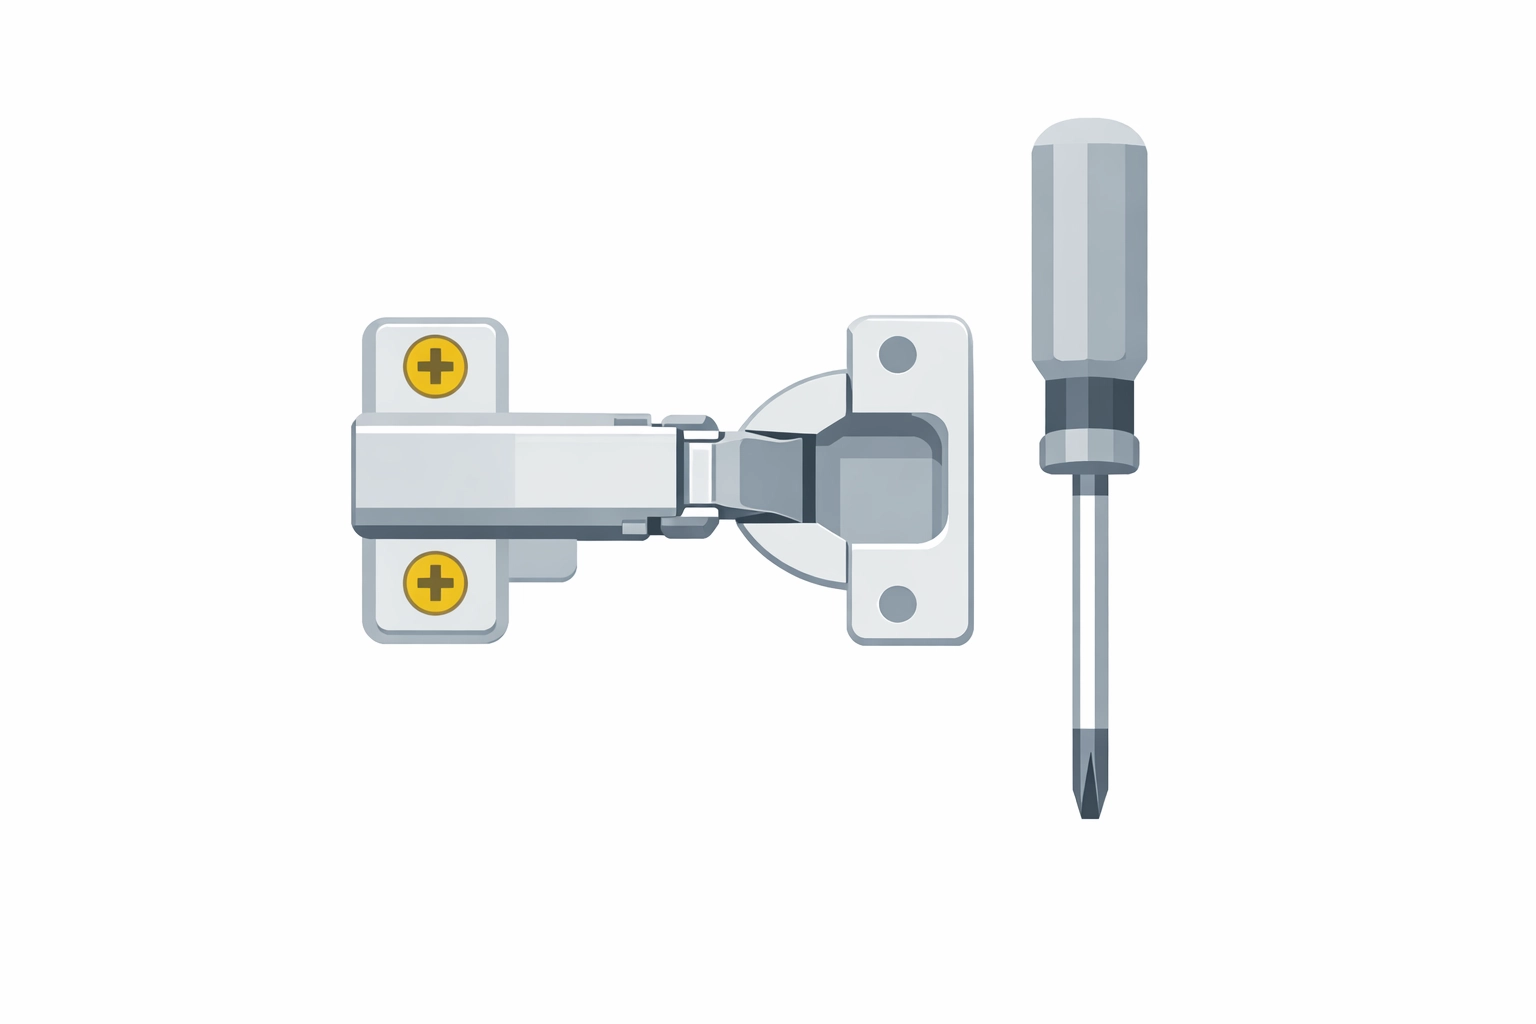
Look at the hinge inside the cabinet. Most modern cabinets use European-style hinges. These have adjustment screws. Use a screwdriver to turn the depth screw. This moves the door in or out. Turn the side screw to move the door left or right. Adjust the height screw to level the door with its neighbor. Small turns make big changes. Watch the gaps. Aim for even spacing.
Replacing Broken Hardware
Sometimes adjustment is not enough. The metal spring inside the hinge breaks. The door hangs limp. You must replace the part. Remove the screws from the door side first. Support the weight of the door. Then remove the screws from the cabinet frame. Take the old hinge to a hardware store on Main St or South Main St. Match the brand and the opening angle.
Hold the new hinge in place. Drive the screws into the existing holes. If the holes are too large, the screws will spin. Fill the holes with wood slivers and glue. Let the glue dry. Then drive the screws again. This creates a solid anchor. Attach the door to the frame hinges. Snap them into place. Perform the final adjustments. Your kitchen looks sharp again.
Upgrade Your Interior Doors
Small fixes extend to your doors. Old handles look dated. They tarnish. They rattle. Changing a handle takes ten minutes but changes the room.
Unscrew the old plates. Remove the latch mechanism from the side of the door. Slide the new latch in. Orient the slant toward the strike plate. Insert the new handles. Align the square spindle. Tighten the mounting screws. Check the lock function.
If the door itself is damaged, replace it. Interior door replacement refreshes a hallway in East Vancouver or Yaletown. Measure the height and width. Note the hinge locations. Buy a pre-hung door for easier installation. Level the frame. Shim the gaps. Nail the trim. The room stays quieter. The heat stays in.
Improve Airflow and Light
A bathroom fan prevents mold. It pulls moisture out of the air. Old fans get loud. They stop moving air. Replacement is a safety priority.
Turn off the power at the breaker. Remove the plastic cover. Disconnect the wiring. Undo the screws holding the housing to the ceiling joists. Pull the unit down. Detach the vent duct.
Connect the new fan to the ducting. Secure the housing to the wood. Connect the wires using wire nuts. Tuck the wires into the junction box. Install the new cover. Turn the power back on. Listen to the silence.
Hanging fans in bedrooms provides the same relief. It moves air in the summer. It pushes heat down in the winter. We handle the mounting and the wiring. You enjoy the breeze.
Clear Your To-Do List
You have a list of tasks. You lack the time. You lack the tools. Randall The Handyman services East Vancouver and the surrounding areas. We visit homes in Kerrisdale, the West End, and Yaletown. We help residents in Burnaby, Richmond, and North Vancouver.

Our Rates
We keep pricing simple. Our rate is $120 for the first hour. We charge $85 for each additional hour. We work efficiently. We bring the right tools for toilet repair and cabinet repair. We complete multiple small tasks in one visit. This saves you money. This saves you time.
Book Your Service
Stop looking at the broken hinge. Stop wiggling the loose toilet seat. Contact Randall The Handyman today.
Visit our website at https://randallthehandyman.com. Fill out the contact form. Describe your list. We provide a time slot. We arrive on time. We finish the work. Your home functions perfectly again.
Move forward with your home repairs. Schedule your East Vancouver maintenance now.
