
Dealing with minor electrical issues can be daunting, but with the right approach, you can troubleshoot them safely and effectively. This guide walks you through each step, keeping safety front and center while empowering you to handle small electrical problems with confidence.
Step 1: Identify the Issue
Start by observing the problem. Is there a flickering light, a dead outlet, or something else? Make a note of any unusual sounds or smells.
Identifying the issue is crucial. Pay close attention to specific symptoms like dimming lights when using certain appliances. This could indicate an overload or a wiring issue. If something doesn’t feel right, trust your instincts—it’s time to investigate further.
Don’t rush this step. Assess the situation carefully and ensure you note all details. A small flicker might seem insignificant but could point to underlying issues. Documenting your observations will help you articulate the issue more effectively, whether to yourself or to a professional.
Step 2: Ensure Your Safety
Before you touch anything, make sure to turn off the power to the affected area. Use a voltage tester to confirm there’s no electricity flowing.
Safety is your foremost ally in this process. Once the power is off, take a moment to assess the surroundings. Clear the area of any clutter and ensure you have proper lighting. Working in a well-lit space enhances your ability to spot hazards and identify issues.
Wearing properly insulated gloves can add an extra layer of protection. This small step can prevent accidents and ensure your hands stay safe while you investigate. Remember, you can’t be too cautious when it comes to electricity.
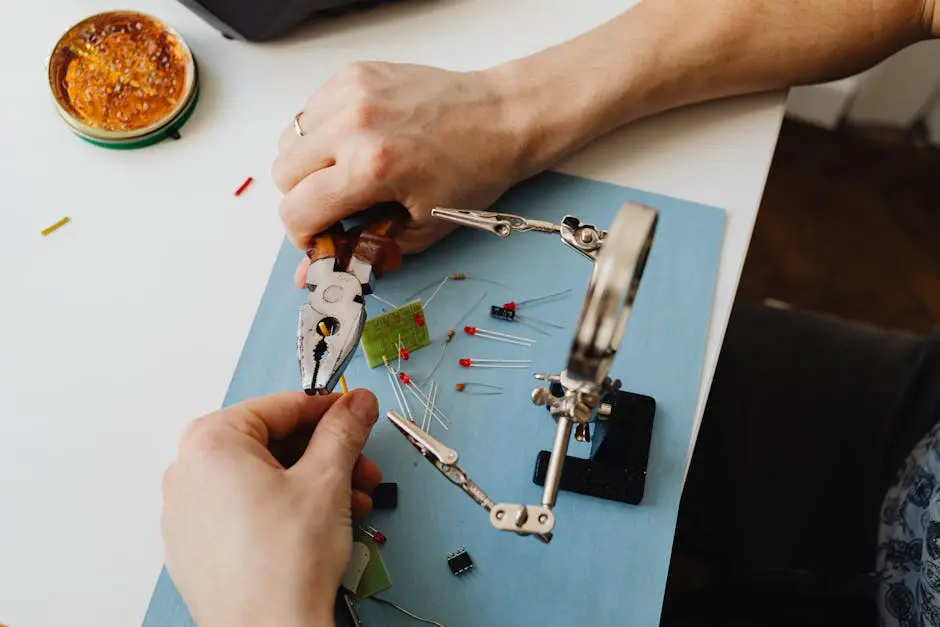
Step 3: Check For Common Problems
Look for simple solutions like blown fuses, tripped breakers, or loose connections. These are often the culprits behind minor electrical issues.
Check the breaker box for any tripped breakers; if you find one, resetting it may solve the issue. A loose connection can lead to fluctuating power, so ensure that all wires are tightly secured where needed. A firm push might just do the trick.
If you find blown fuses, replace them with the correct amperage rating to avoid potential hazards. It’s also a good time to consider how often these issues occur—repeated occurrences might indicate a more serious underlying problem.
Step 4: Make Safe Repairs
If you feel comfortable, make necessary repairs such as replacing a fuse or resetting a breaker. Always follow safety guidelines when handling electrical components.
However, if you encounter anything that feels beyond your capability, resist the urge to fix it. It’s crucial to know your limits to prevent injuries or further complications. In certain situations, even basic repairs can be tricky and might require professional assistance.
For the repairs you do undertake, gather all the necessary tools beforehand. Having everything you need at hand keeps you focused and minimizes risks associated with hasty work. Be methodical, and double-check your work to ensure everything is safe and sound.
Step 5: Know When to Call a Professional
If the issue persists or you encounter complex problems, it’s time to call in a licensed electrician. It’s better to be safe than risk further complications.
Recognizing when to step back is an important skill in home maintenance. If the circuit trips repeatedly or you notice sparks, call a pro immediately. These are signs that suggest deeper issues that require expert knowledge to resolve.
Professional electricians have the training and tools to tackle even the trickiest electrical problems. They can not only fix current issues but also help prevent future ones, providing peace of mind that your home is safe.
Stay Safe and Empowered
By following these steps, you can troubleshoot minor electrical issues safely and efficiently. Remember that safety should always be your top priority, and when in doubt, don’t hesitate to consult a professional.
