
Caulking is a crucial part of home maintenance that can save you energy and protect your home from damage. Whether you’re a seasoned DIYer or just starting out, these essential tips will help you master the art of caulking like a pro. Get ready to make your Vancouver home more comfortable and efficient!
1. Choose the Right Caulk for Your Project
Selecting the appropriate type of caulk is the first step in ensuring a successful caulking job. Different projects require different caulks, whether it’s for the bathroom, kitchen, or exterior surfaces. Understanding the properties of acrylic, silicone, and polyurethane will help you make an informed decision.
Acrylic caulk is great for interior projects, as it’s easy to paint over and clean up with water. Silicone caulk, on the other hand, offers superior flexibility and is ideal for areas that may experience movement, such as windows and doors. Finally, polyurethane caulk provides excellent durability for outdoor projects, standing up well to moisture and temperature changes. By knowing the right type to use for your application, you set the stage for a seamless finish.
2. Prepare Your Surfaces Thoroughly
Before you start applying caulk, it’s important to prepare the surfaces. Clean the area to remove any dirt, dust, or old caulk, and ensure that the surface is dry for the best adhesion. These steps are essential for a smooth and long-lasting finish.
Don’t overlook the importance of surface preparation. For best results, using a utility knife to remove old caulk carefully ensures the new adhesive bonds efficiently. After scraping, wipe down the area with denatured alcohol or a similar cleaner to eliminate residue. A well-prepared surface means less rework later, so invest the time upfront for a neater application!
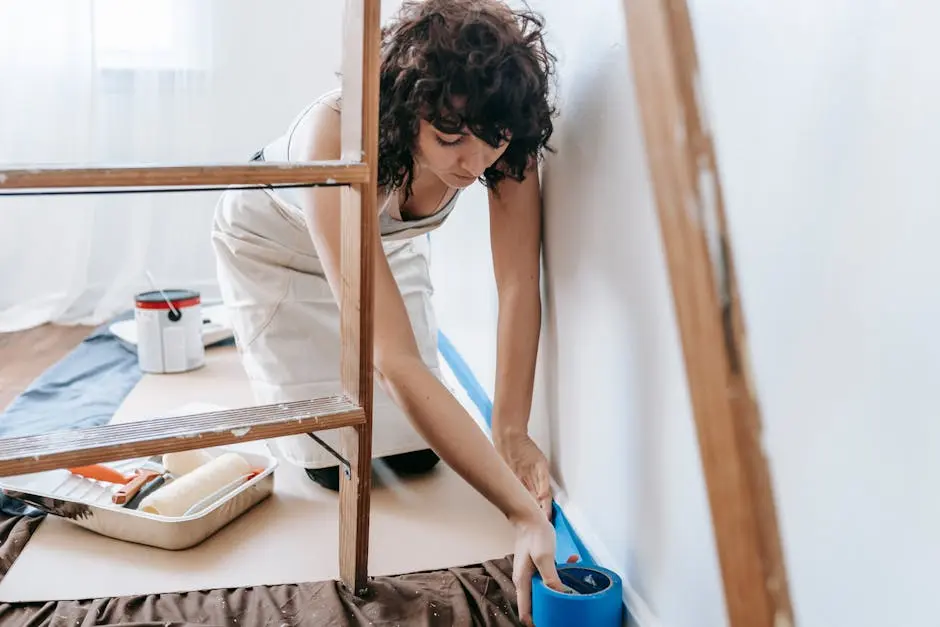
3. Invest in Quality Tools for the Job
Using the right tools can make a world of difference in your caulking efforts. A good caulk gun, a caulking smoother, and a utility knife will help you apply caulk evenly and neatly. Quality tools not only simplify the process but also improve the finished look.
One tool you might not want to skip is a caulk finisher. This handy device helps in pushing the caulk into seams, ensuring it adheres properly while leaving a clean edge behind. Additionally, using a caulk gun with a smooth trigger action makes application much easier, especially on larger projects. The right setup pays off with results that are not just functional, but visually appealing as well.
4. Mind the Weather Conditions
Caulking in the right weather is crucial, especially in Vancouver where rain and humidity can affect the curing process. Aim for a dry day with moderate temperatures to ensure that your caulking adheres properly and lasts longer.
It’s also wise to monitor the forecast when planning your caulking service. Applying caulk when it’s too cold or too hot can result in poor adhesion, leading to cracks or peeling later. Ideally, aim for a temperature range of 50 to 90 degrees Fahrenheit. Keep an eye on humidity levels too; you want it to be low to ensure proper drying. Timing your caulking job around the weather can mean the difference between a job well done and a repeat project next season.
5. Apply Caulk with a Steady Hand
Applying caulk may seem simple, but a steady hand is key to achieving a flawless application. Move the caulk gun smoothly along the joint to create an even line, and don’t rush the process. This attention to detail will result in a professional-looking finish.
Practice makes perfect! If you find your hands aren’t as steady as you hoped, try practicing on a scrap piece of material first. This will help you get the feel of the motion before tackling your actual project. Remember, the goal is an even bead that fills the gap completely. Don’t be afraid to apply a bit more caulk than you think you need—it’s easier to smooth it out than to go back and fix gaps!
6. Seal the Deal with Smoothing Techniques
Once the caulk is applied, use a smoothing tool or your finger to press the caulk into the joint and create a clean edge. Smoothing the caulk not only improves appearance but also helps in pushing it into the seam for better adhesion.
For a neat finish, it’s important to smooth out the joint within a few minutes of application before it begins to set. A damp finger works well, but if you prefer, you can use a wet smoothing tool designed specifically for this task. Just remember to keep it clean; wiping it down with a damp cloth frequently will prevent mess and ensure a tidy result. The better you smooth it, the less work you’ll have to do later!
7. Know When to Call in the Professionals
While many caulking jobs are manageable on your own, some situations may require a professional touch. If you’re dealing with extensive damage, hard-to-reach areas, or simply want the best results, don’t hesitate to reach out to a reliable caulking service in Vancouver.
Local experts not only bring skills but also the right equipment which can save you time and frustration. Plus, professionals understand local building codes and best practices, ensuring that your home is protected against moisture and air infiltration. So, if a project feels overwhelming, it’s absolutely okay to seek help! A little investment can save you from more significant repairs down the line.
